How Do I Make My Own ID Badges?
13th Oct 2023
In today's fast-paced world, identification badges are an essential part of our daily lives. Whether you need them for your employees, event attendees, or even for personal use, having a customised ID badge can make a significant difference. The good news is that you don't need to rely on expensive third-party services to create these badges. As with the right tools, and a bit of creativity, you can make your own ID badges easily and cost-effectively. In this blog, we'll guide you through the steps to creating your own personalised ID badges. We will cover everything that you will need to do, from how to design them, print them, distribute them and more.


What Materials Will You Need?
First of all, you'll have to gather the necessary materials and tools to help you create the badge itself.
These include:
ID Badge Software: There are several ID badge software programs available, both free and paid, that can help you design and customise your badges. Popular options include Adobe Photoshop, Canva, Microsoft Publisher, and specialised ID badge software like IDCreator.
Your Graphics and Images: If you plan to include logos, photos, or other graphics on your ID badges, gather these assets in a digital format (JPEG, PNG, etc.).
A Printer: A high-quality printer is crucial for producing sharp and clear images and text on your ID badges. An inkjet or thermal printer is recommended for this purpose.
Once you've gathered all these tools and items you're ready to begin. Follow our step-by-step process below in order to get the best result.
Step 1: Design Your ID Badge
Start by opening your chosen ID badge software and creating a new project. Import any logos, images, or backgrounds you want to include on your badge. You can also add text fields for names, titles, and any other relevant information. If this is being made for your organisation, make sure you follow any branding guidelines or design principles specific to the company to keep a consistent look across all of the badges.
Step 2: Layout and Formatting
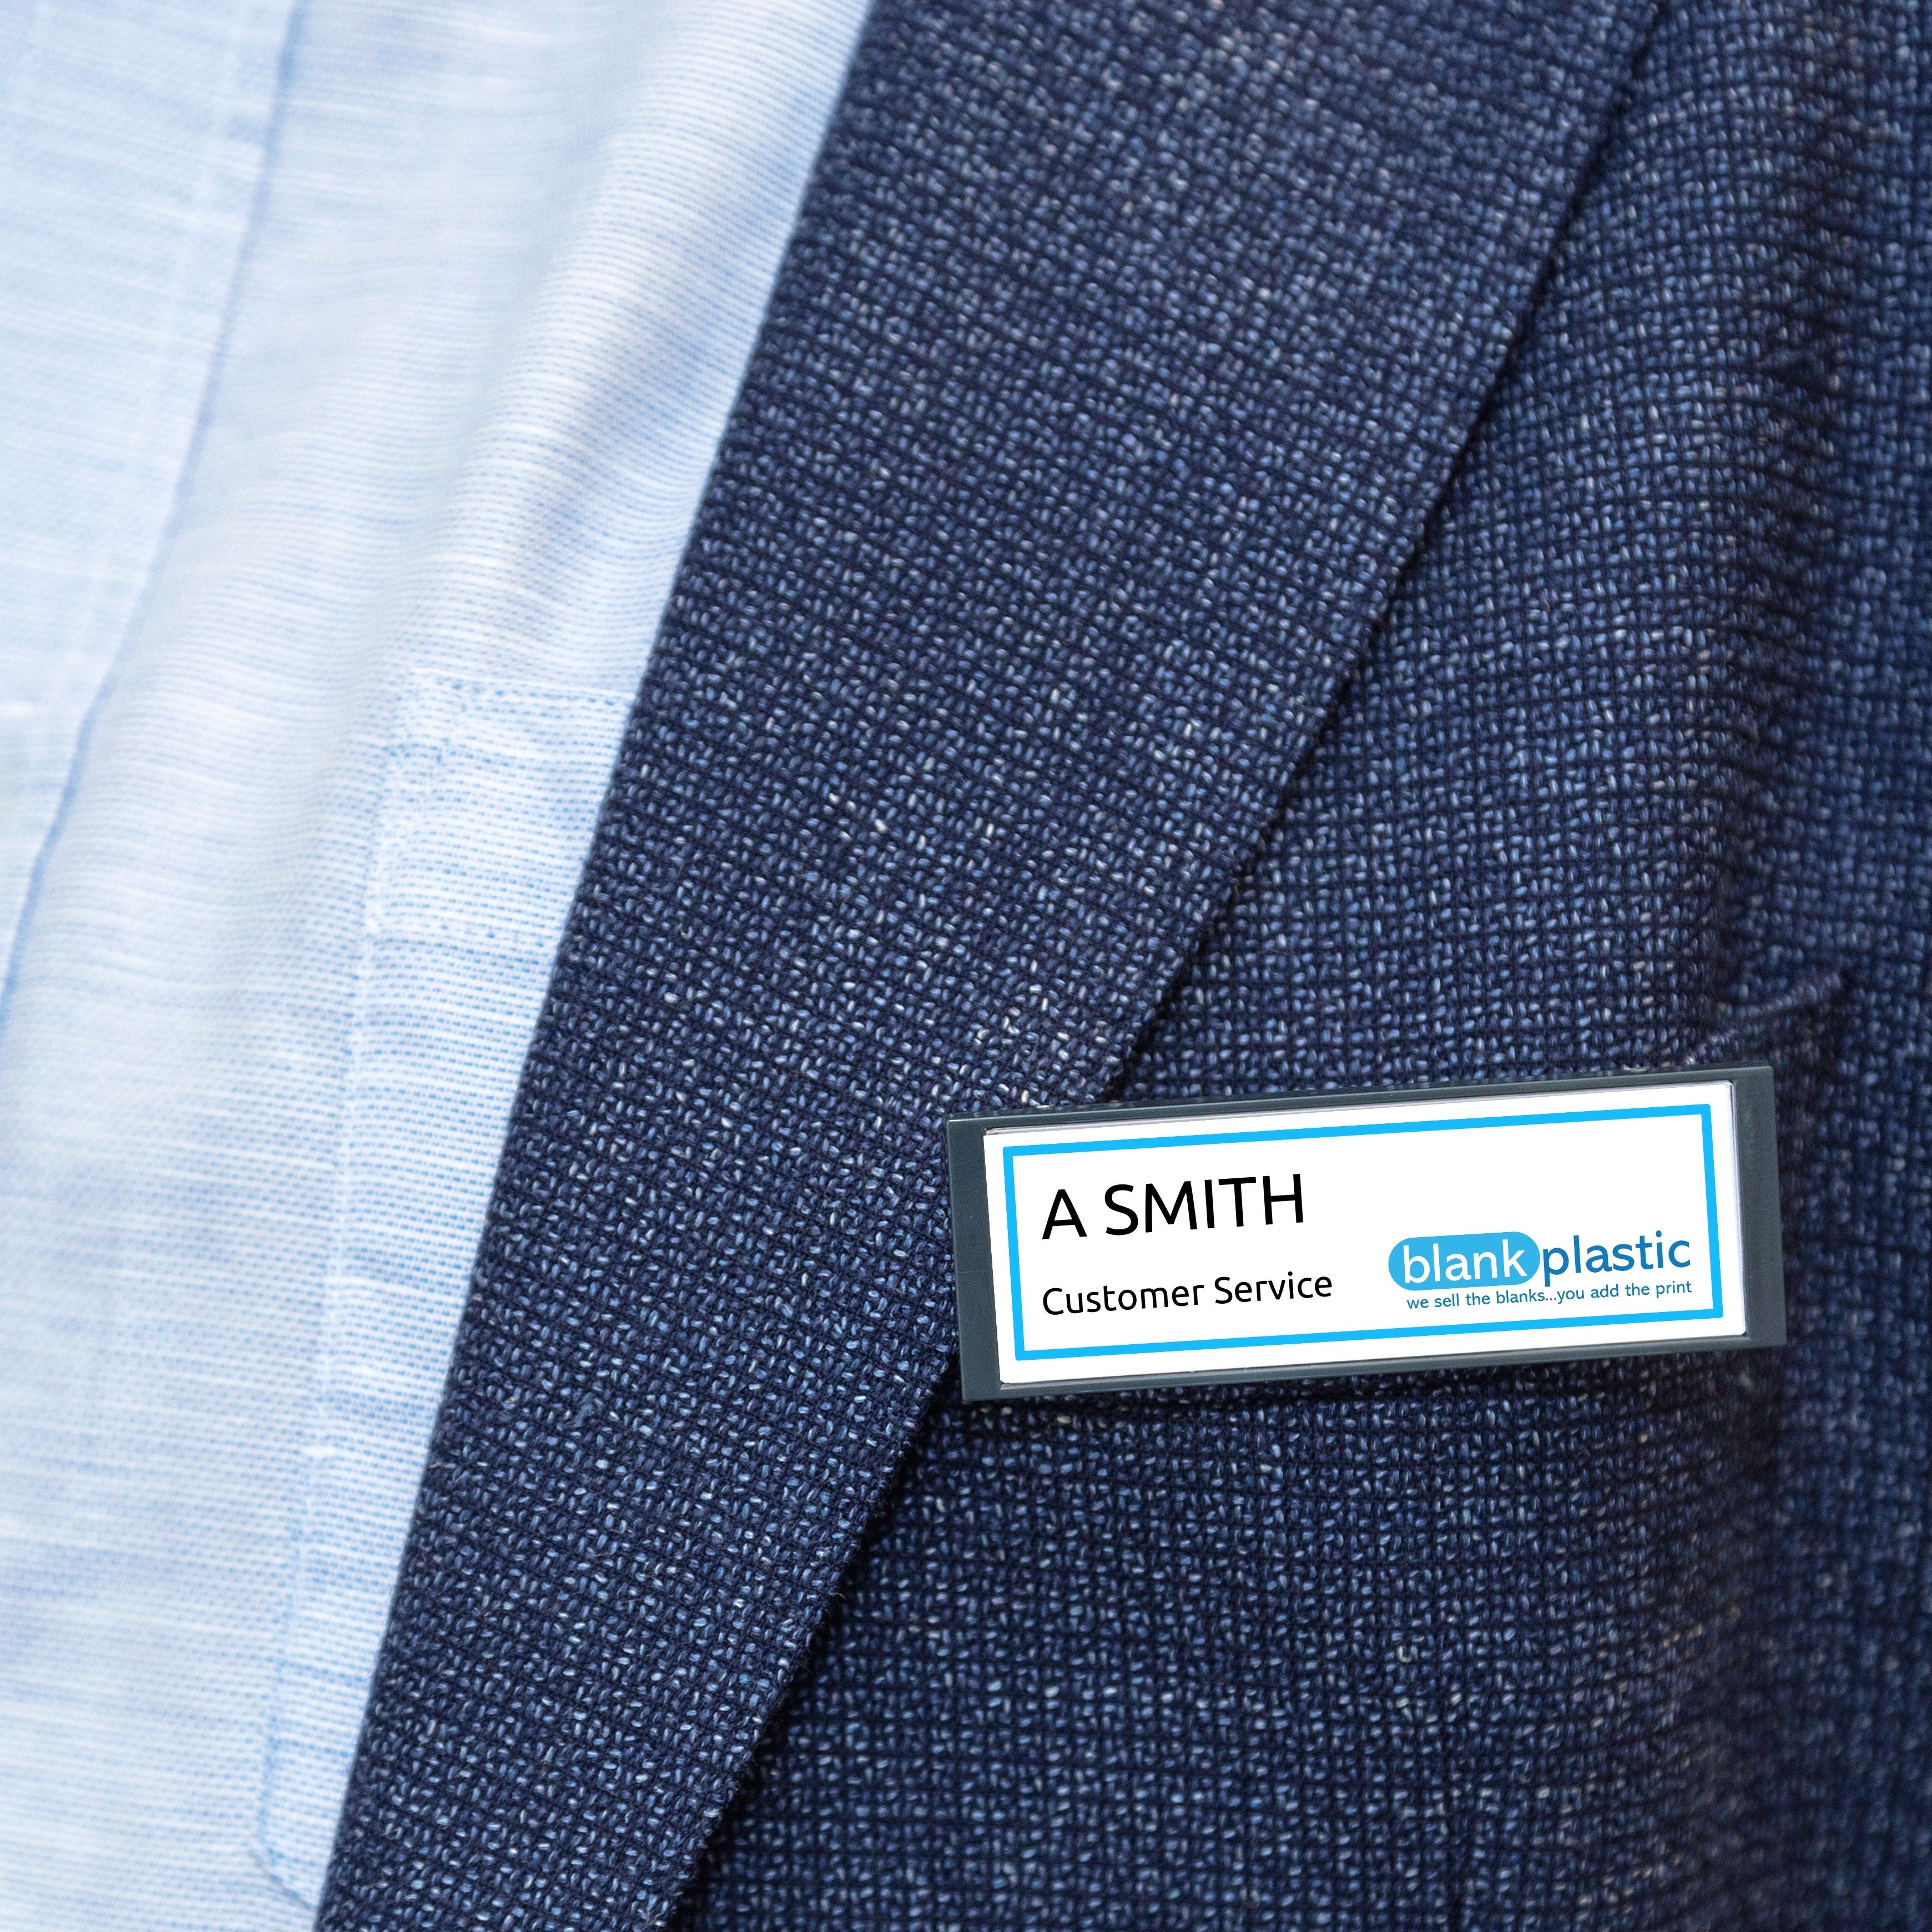
Arrange the elements on your ID badge design, making sure there's enough space for all the necessary information without overcrowding the card. Pay attention to font size, colours, and alignment to ensure readability and a professional look. Each product from Blank Plastic's range has an insert size to work to.
Step 3: Printing Your ID Badges
Load your badge artwork into your printer. Make sure to use the appropriate settings to ensure proper printing. Typically, this involves selecting a thicker paper type in your printer settings.
Step 4: Cutting Your ID Badges
Once your artwork is printed, carefully cut them out using scissors or a card cutter. Be sure to follow the outline of your design precisely to maintain a professional appearance.
Step 5: Assemble Badges
Blank Plastic offers a variety of blank badge products, available for bulk purchases. Easily customise your badges by inserting your artwork into the designated recess and securing it in place by clicking in the provided insert window, effectively sealing in your design.


Step 6: Distribute Your ID Badges
Your custom ID badges are now ready to be distributed to your employees, event attendees, or anyone else who needs them. Attach badge clips, lanyards, or badge holders where needed for convenient wearing.
Creating your own ID badges doesn't have to be a daunting task. With the right materials and a bit of creativity, you can produce personalised and professional-looking ID badges that serve your specific needs. Whether it's for security, identification, or branding purposes, making your own ID badges can be a cost-effective and efficient solution.
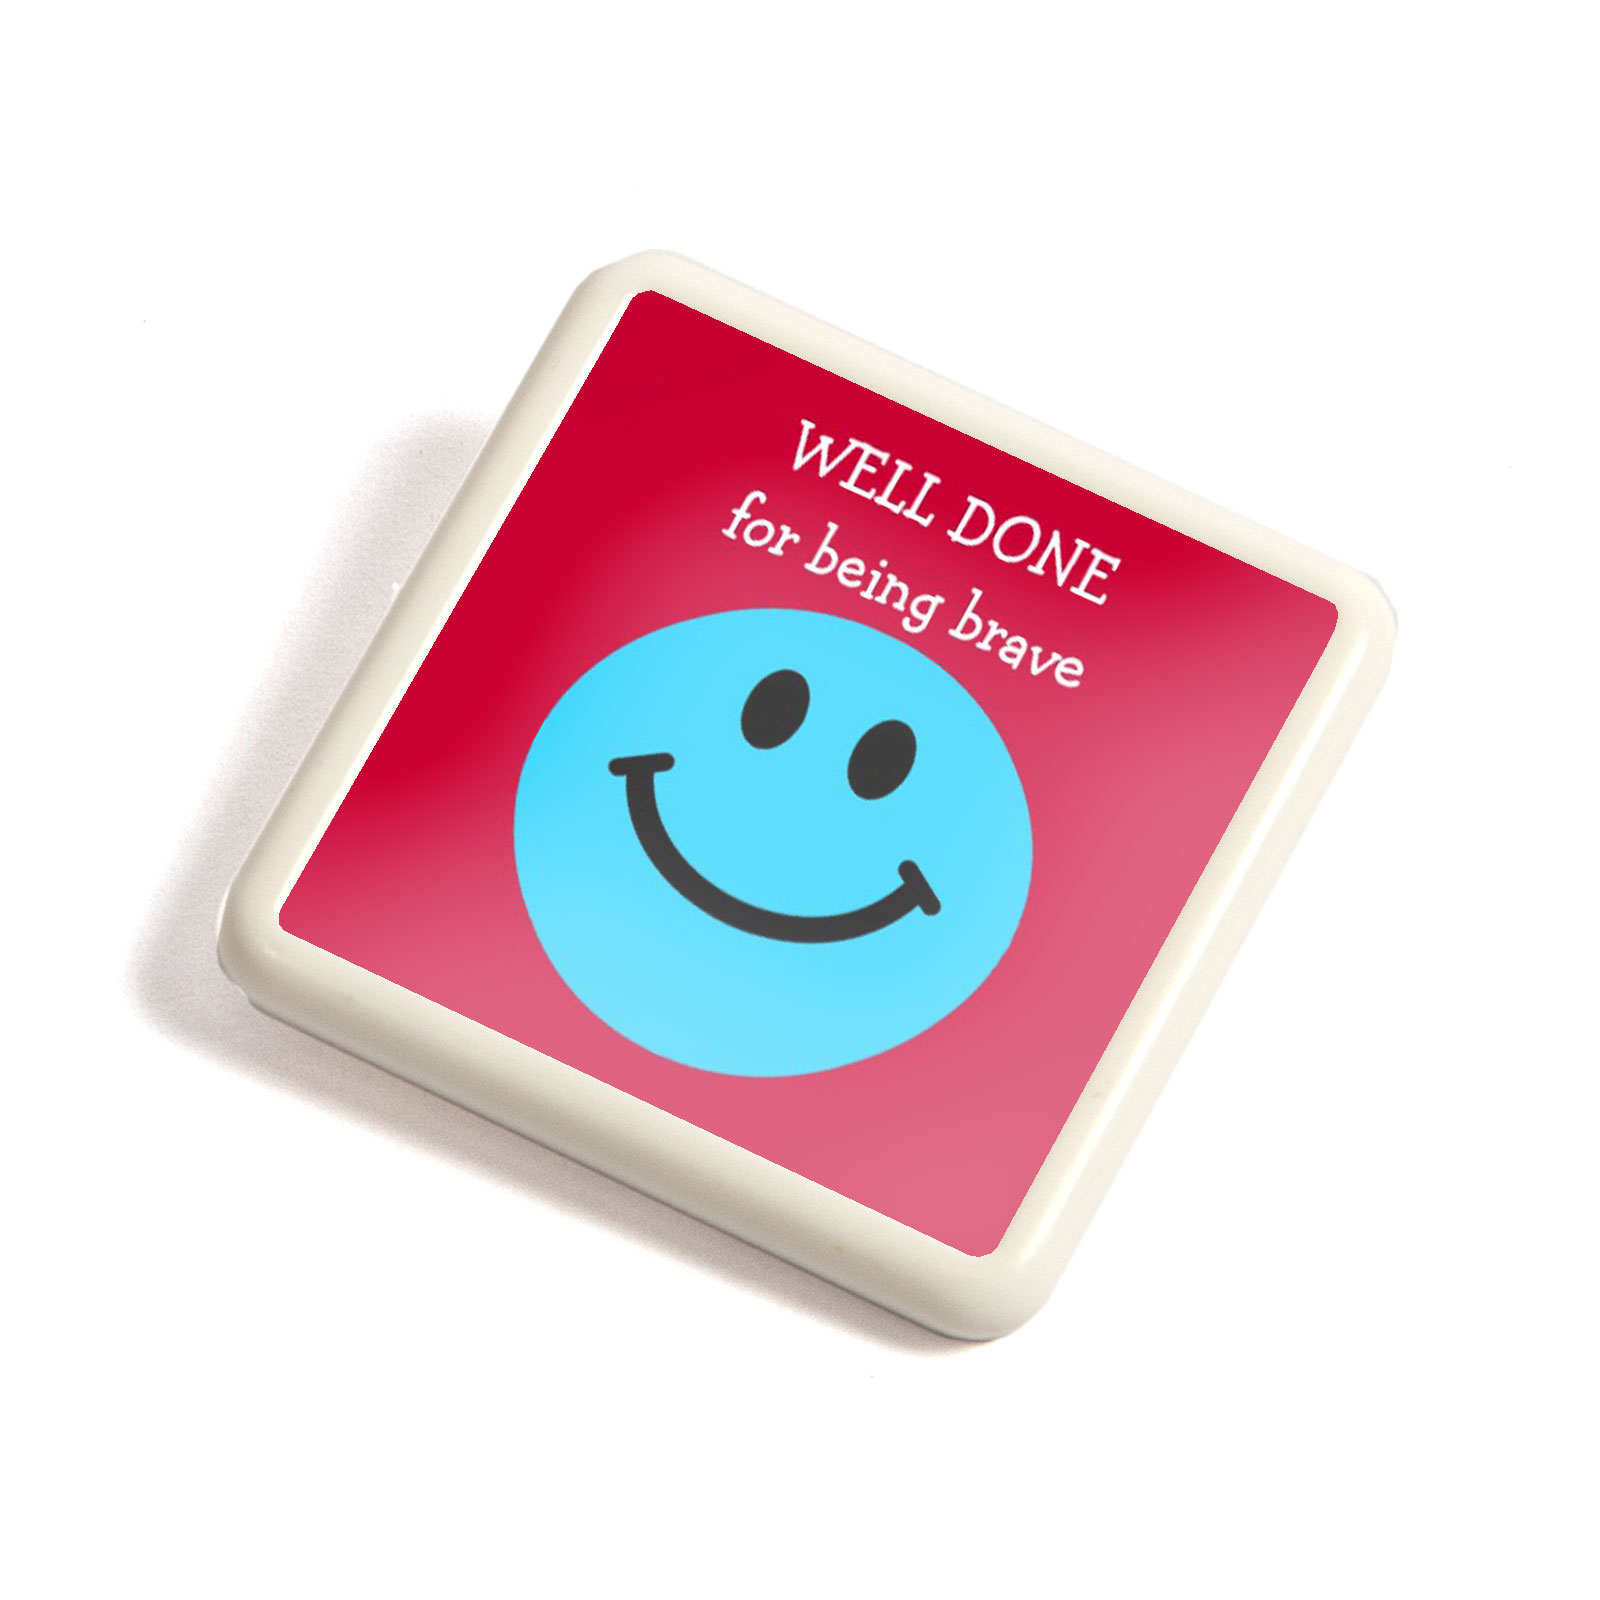
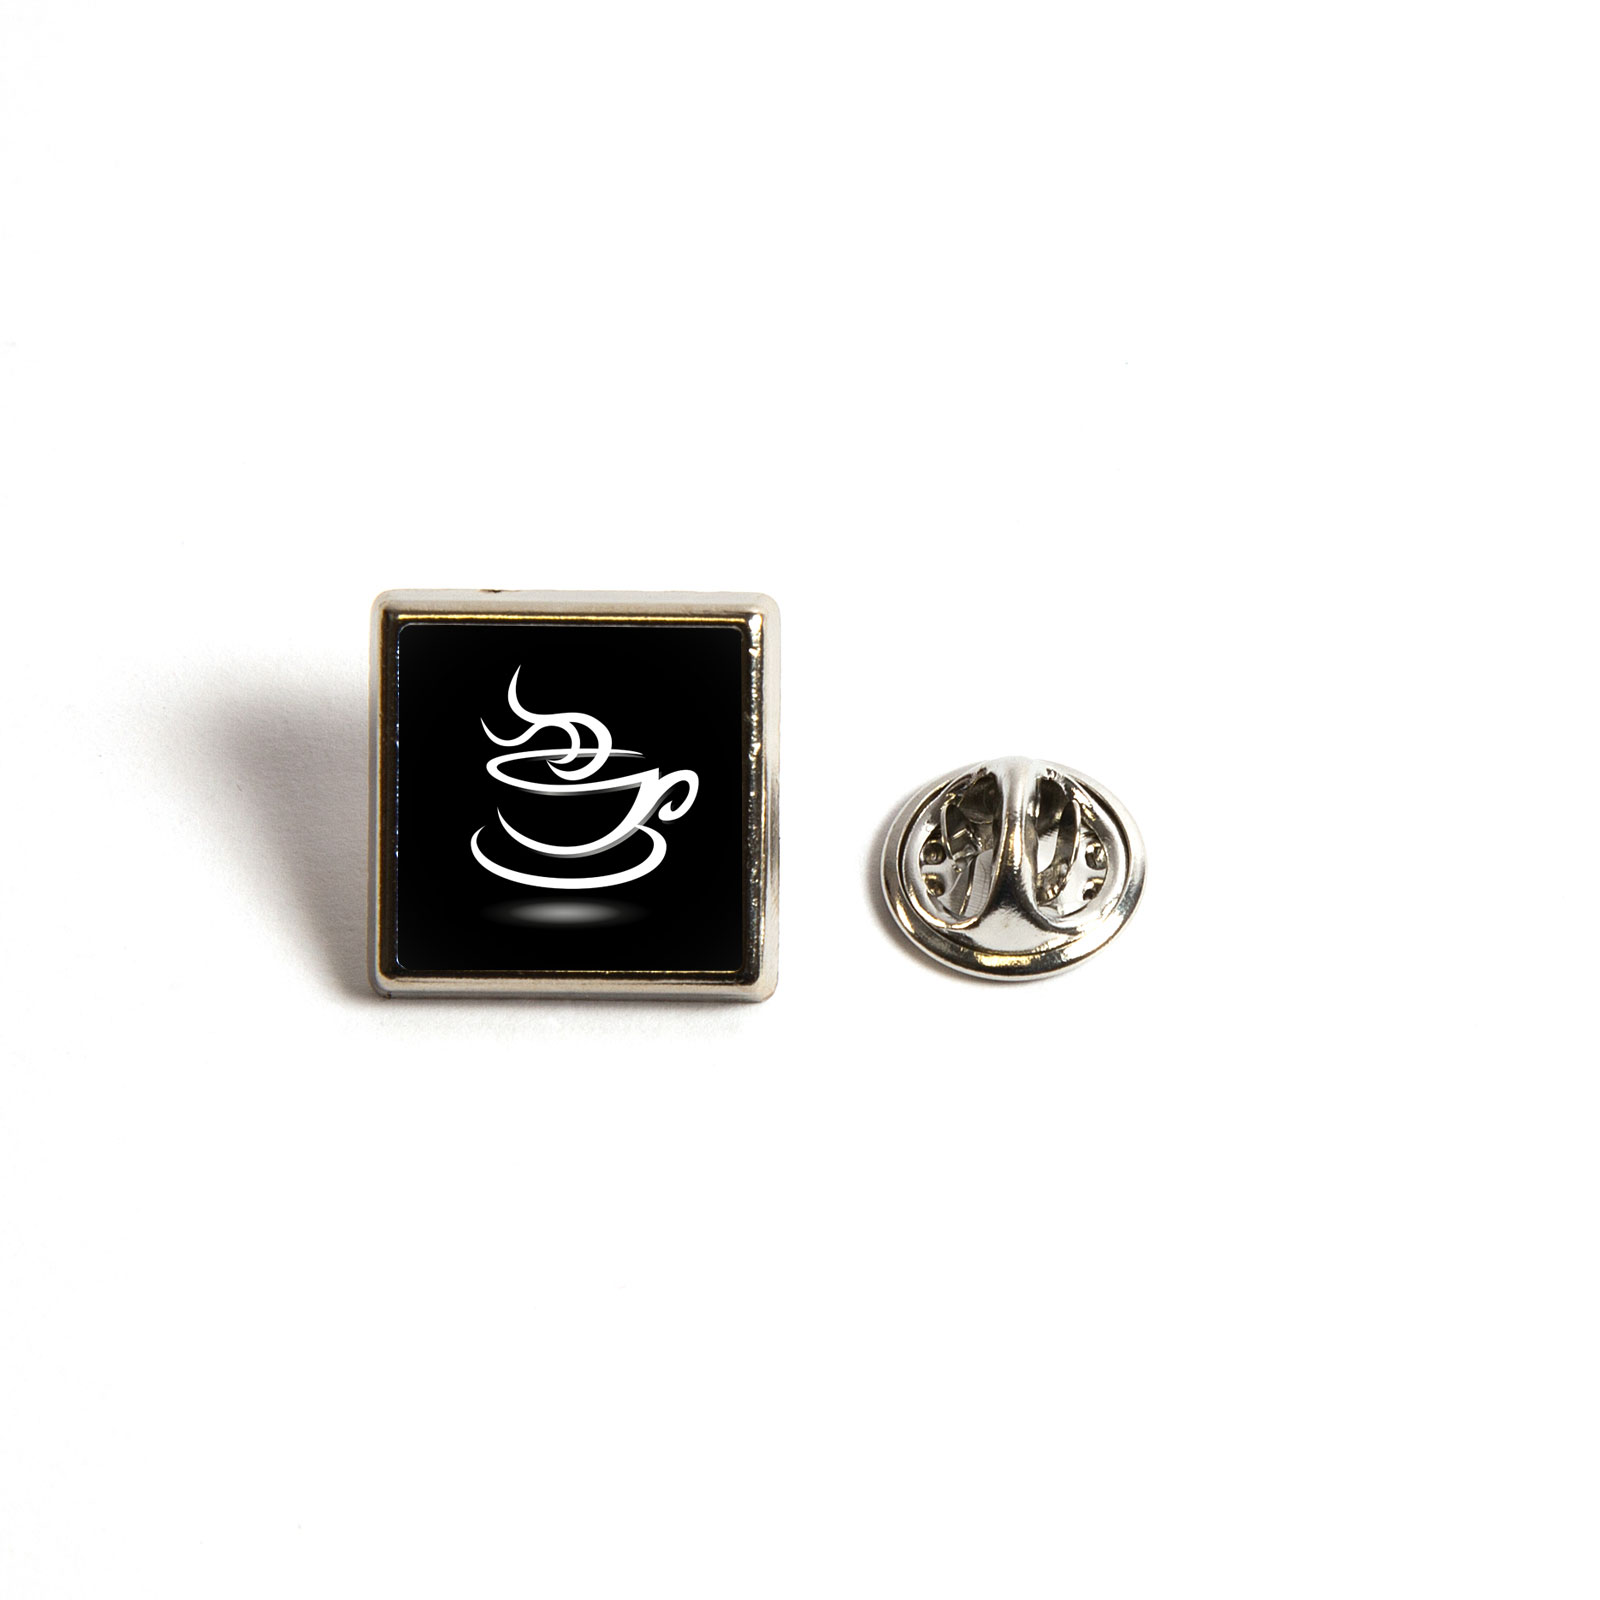
Here at Blank Plastic, we offer badges in a variety of sizes. To look professional in the workplace, why not invest in one of our rectangle badges? Or if you're going for a simple yet effective design, our round badges are for you. We also have a great choice of square badges that will promote your brand in the best way possible. So, start designing and get your badges ready for use today.


